I’ve always known that when I got engaged, I would DIY our invitations. When it finally happened, I immediately started designing and testing out different styles, and within the first couple months, we had our design finalized. We placed the order for the invitation pocket folds and envelopes, and forgot about them for a couple months until we had more details confirmed.
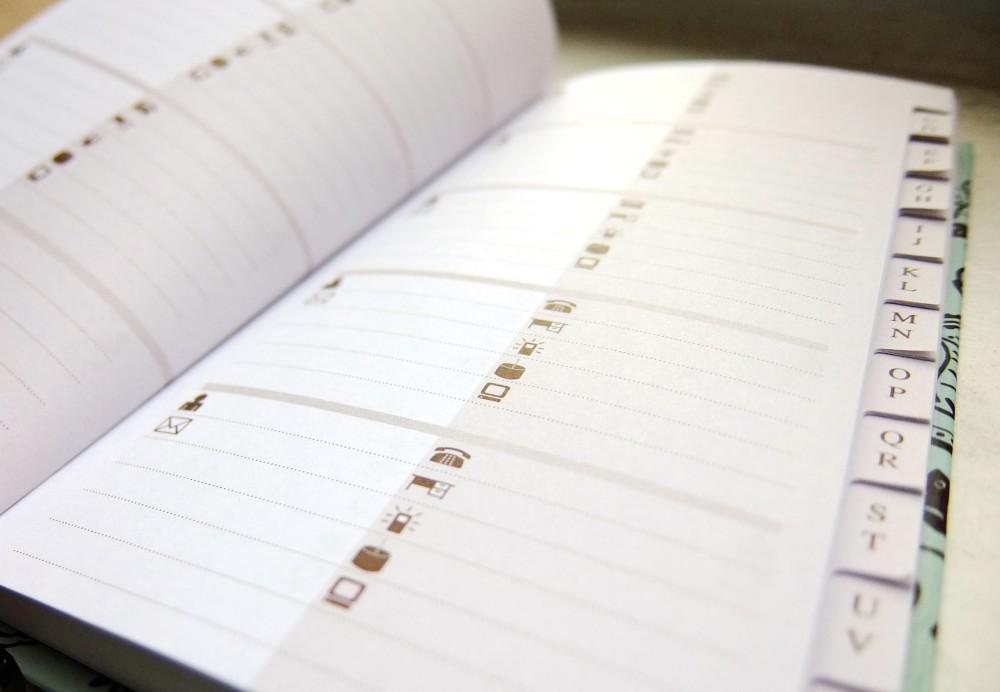
 The easy part was the designing; the putting-together and planning process was the tricky part. The one thing I cannot stress enough is how important organization is in the DYI invitation process. Without it, you will end up spending more time and money than necessary.
If you don’t have labels in your closet and organization in your blood like a certain someone I know (read: me), then I’d like to share a couple tips to help guide you through this fun and exciting process.
1. Your invite list drives your invitation process
Upon getting engaged, we immediately started on the guest list. Since we knew we would be sending invitations internationally, we knew we had to start early, but it’s usually good practice to get started on this right away, regardless of where you’re sending them. The finalized invitation list will give you a clear idea of how many envelopes, pocket folds, etc. to order.
At this stage, you only really need a rough number, but remember that because most of your guest list will consist of couples and families, you will not need the same amount of invitations as there are guests. With this in mind, I came up with a simple formula for those of you who only have a ball park figure for your guest list:
guest list divided by 2 plus 10% of the total number of guests
2. Start collecting addresses early
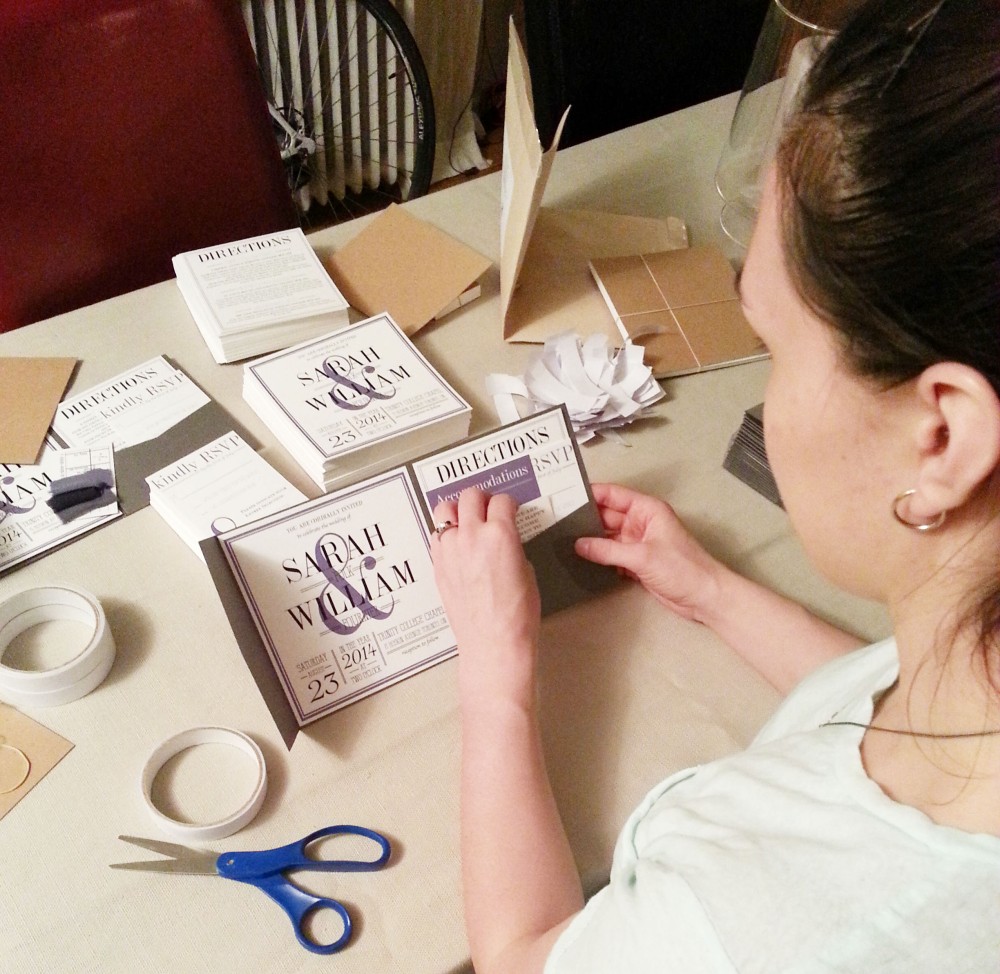
Since we sent Save The Dates, we had to start collecting addresses right away. Thankfully, Will’s mum already had them ready for us when we called, but for our friends (who we never send snail mail to anymore), we had to start asking around. This saved us tons of time in the long run, so that we weren’t scrambling while we were putting the invitations together. This made the entire process more enjoyable and relaxing.
 3. Organization is your friend
This process would not have been as easy had we not been so organized. Figuring out the exact amount of invitations not only helped us gauge the amount of invitations we needed, but also saved us from overspending or under-purchasing the materials we needed had we resorted to guesswork.
 4. It’s all in the details
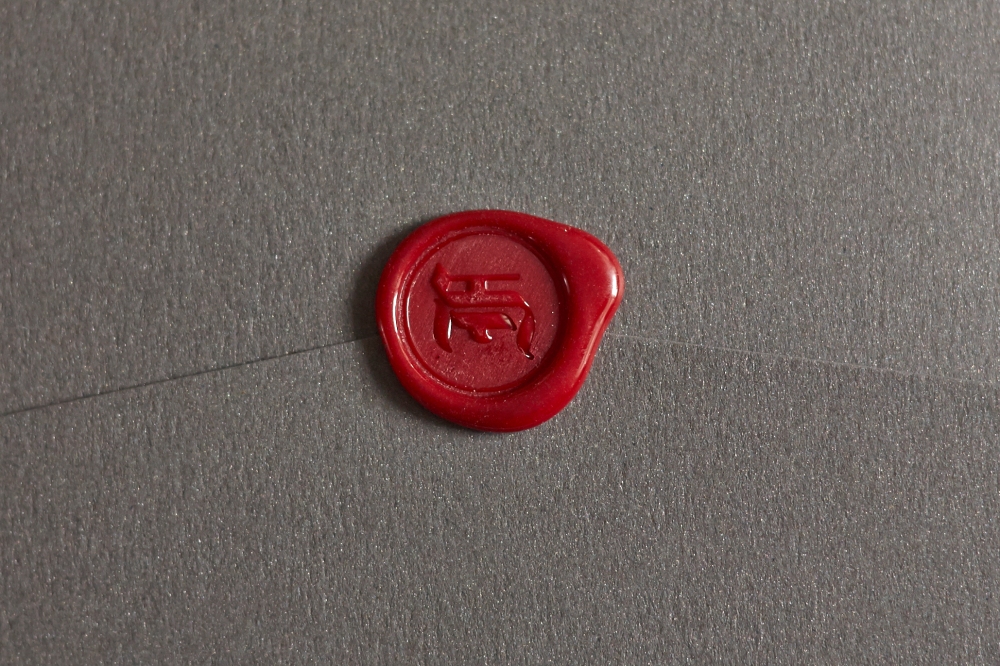
If you’re doing an alternate invite for the after-party portion of your wedding (like Will and I did), it’s best to finish and send out all of your regular invitations before starting on the alternate ones. This will save you from sending your grandma an alternate invitation when she was meant to attend the supper! You can thank me later for this one.
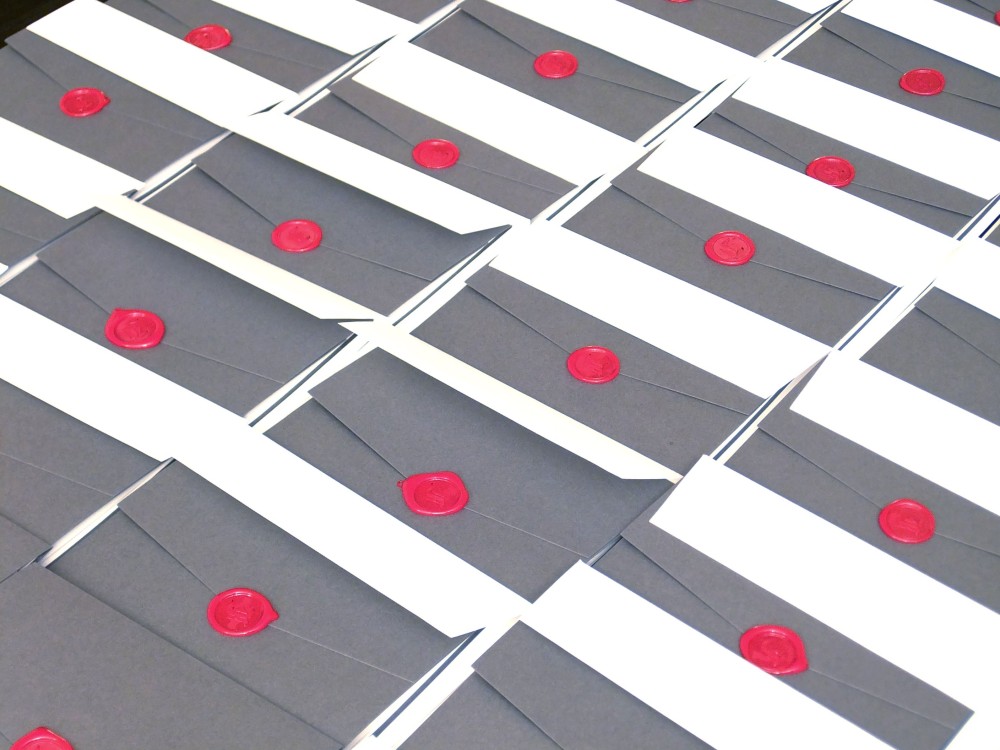
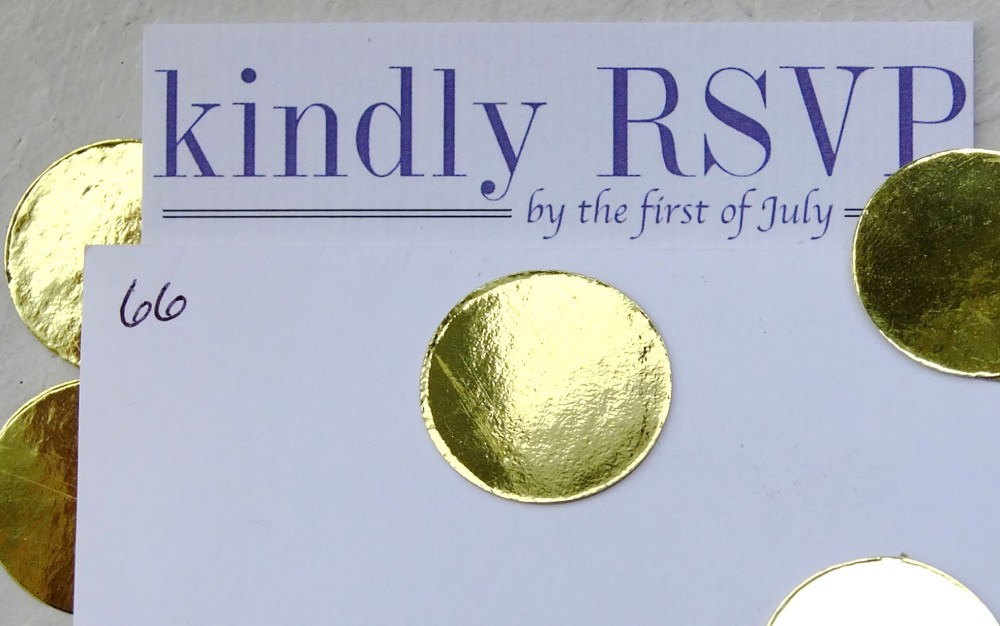
Another tip that was shared with us before we began this process was to assign numbers to your guests and put them on the return envelope so that if anyone forgot to put their name on the RSVP card, you would know who it was. This part required a TON of organization on our end because we ended up sealing our invitations and couldn’t double check which numbers they were. Had we not organized this process properly, it could have ended in a huge disaster!
 5. Call on your friends
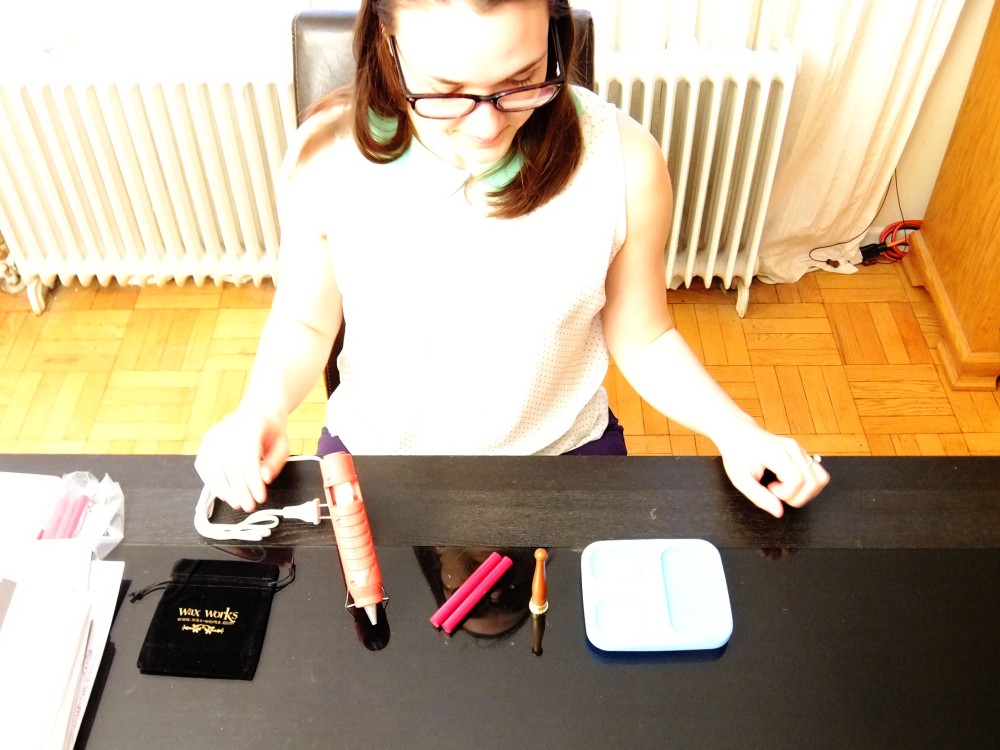
One last item of advice I would like to share is that you shouldn’t be afraid to ask for help. Whether it’s calling your bridesmaids over to help glue things together or asking your mom to stuff envelopes with you, it will make the process easier and more enjoyable. As Mom always says, many hands make light work.
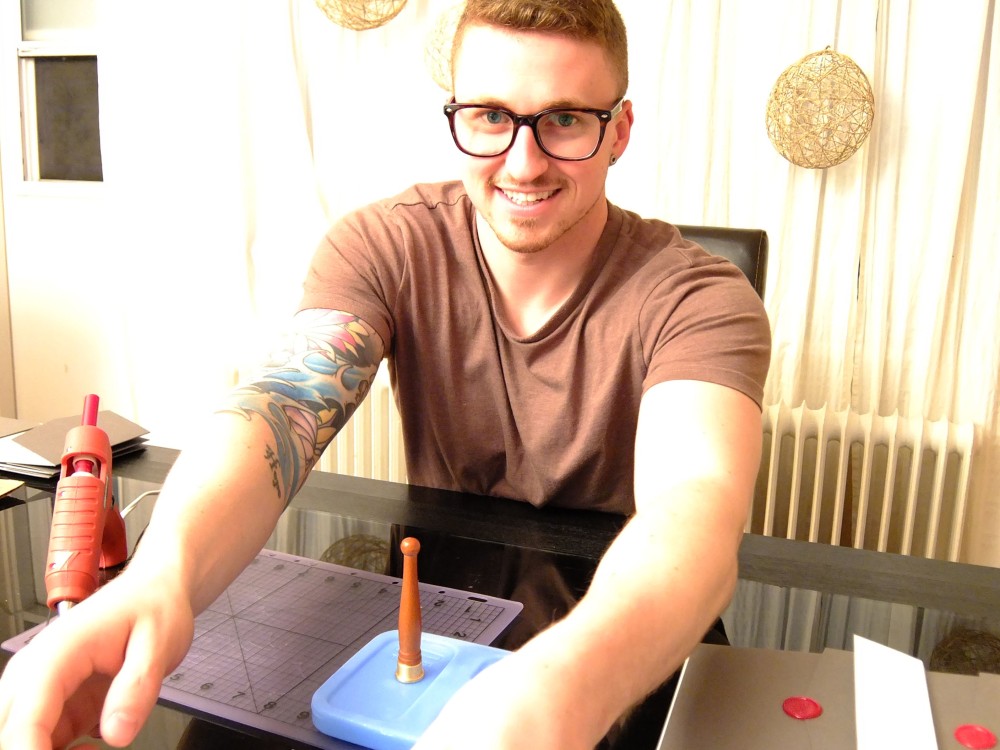
And who knows… some cute fiance might just show up wearing your glasses and be the best invitation helper ever!